External reference
Zeeltronic PCDI-10VT installation on Yamaha 2XT
Original: 2XTにZeeltronic取り付け · Yarou Works · 2021-05-26 19:53:27
Practical notes from a 2XT Zeeltronic PCDI-10VT installation: connector replacement, static angle setup, timing verification, starter map values, YPVS setup, and cautions about over-driving the YPVS pulley.
English translation from the original Japanese blog article. Preserve the original source for authoritative context. Source
While waiting for parts on EFI conversion work, I moved onto another job.

This time the job is to fit a Zeeltronic unit to a 2XT. There are other tasks to do as well, but I decided to finish this first.
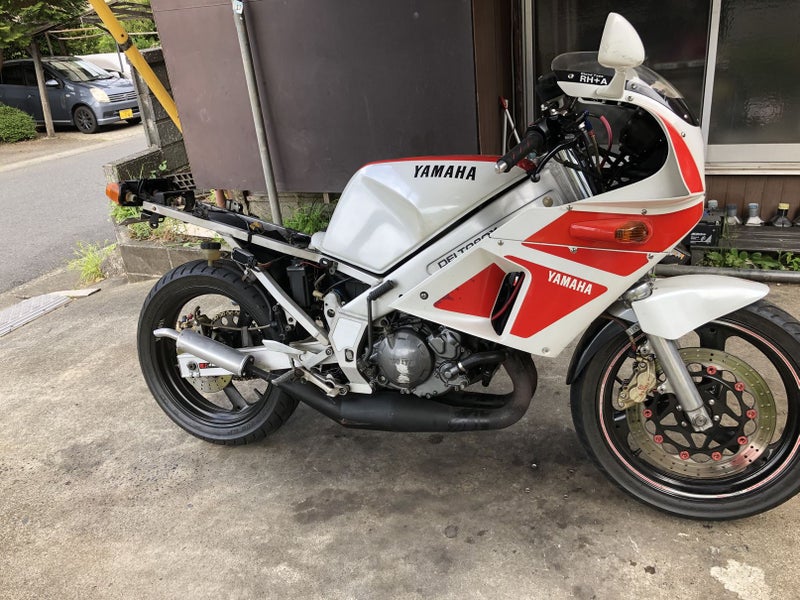
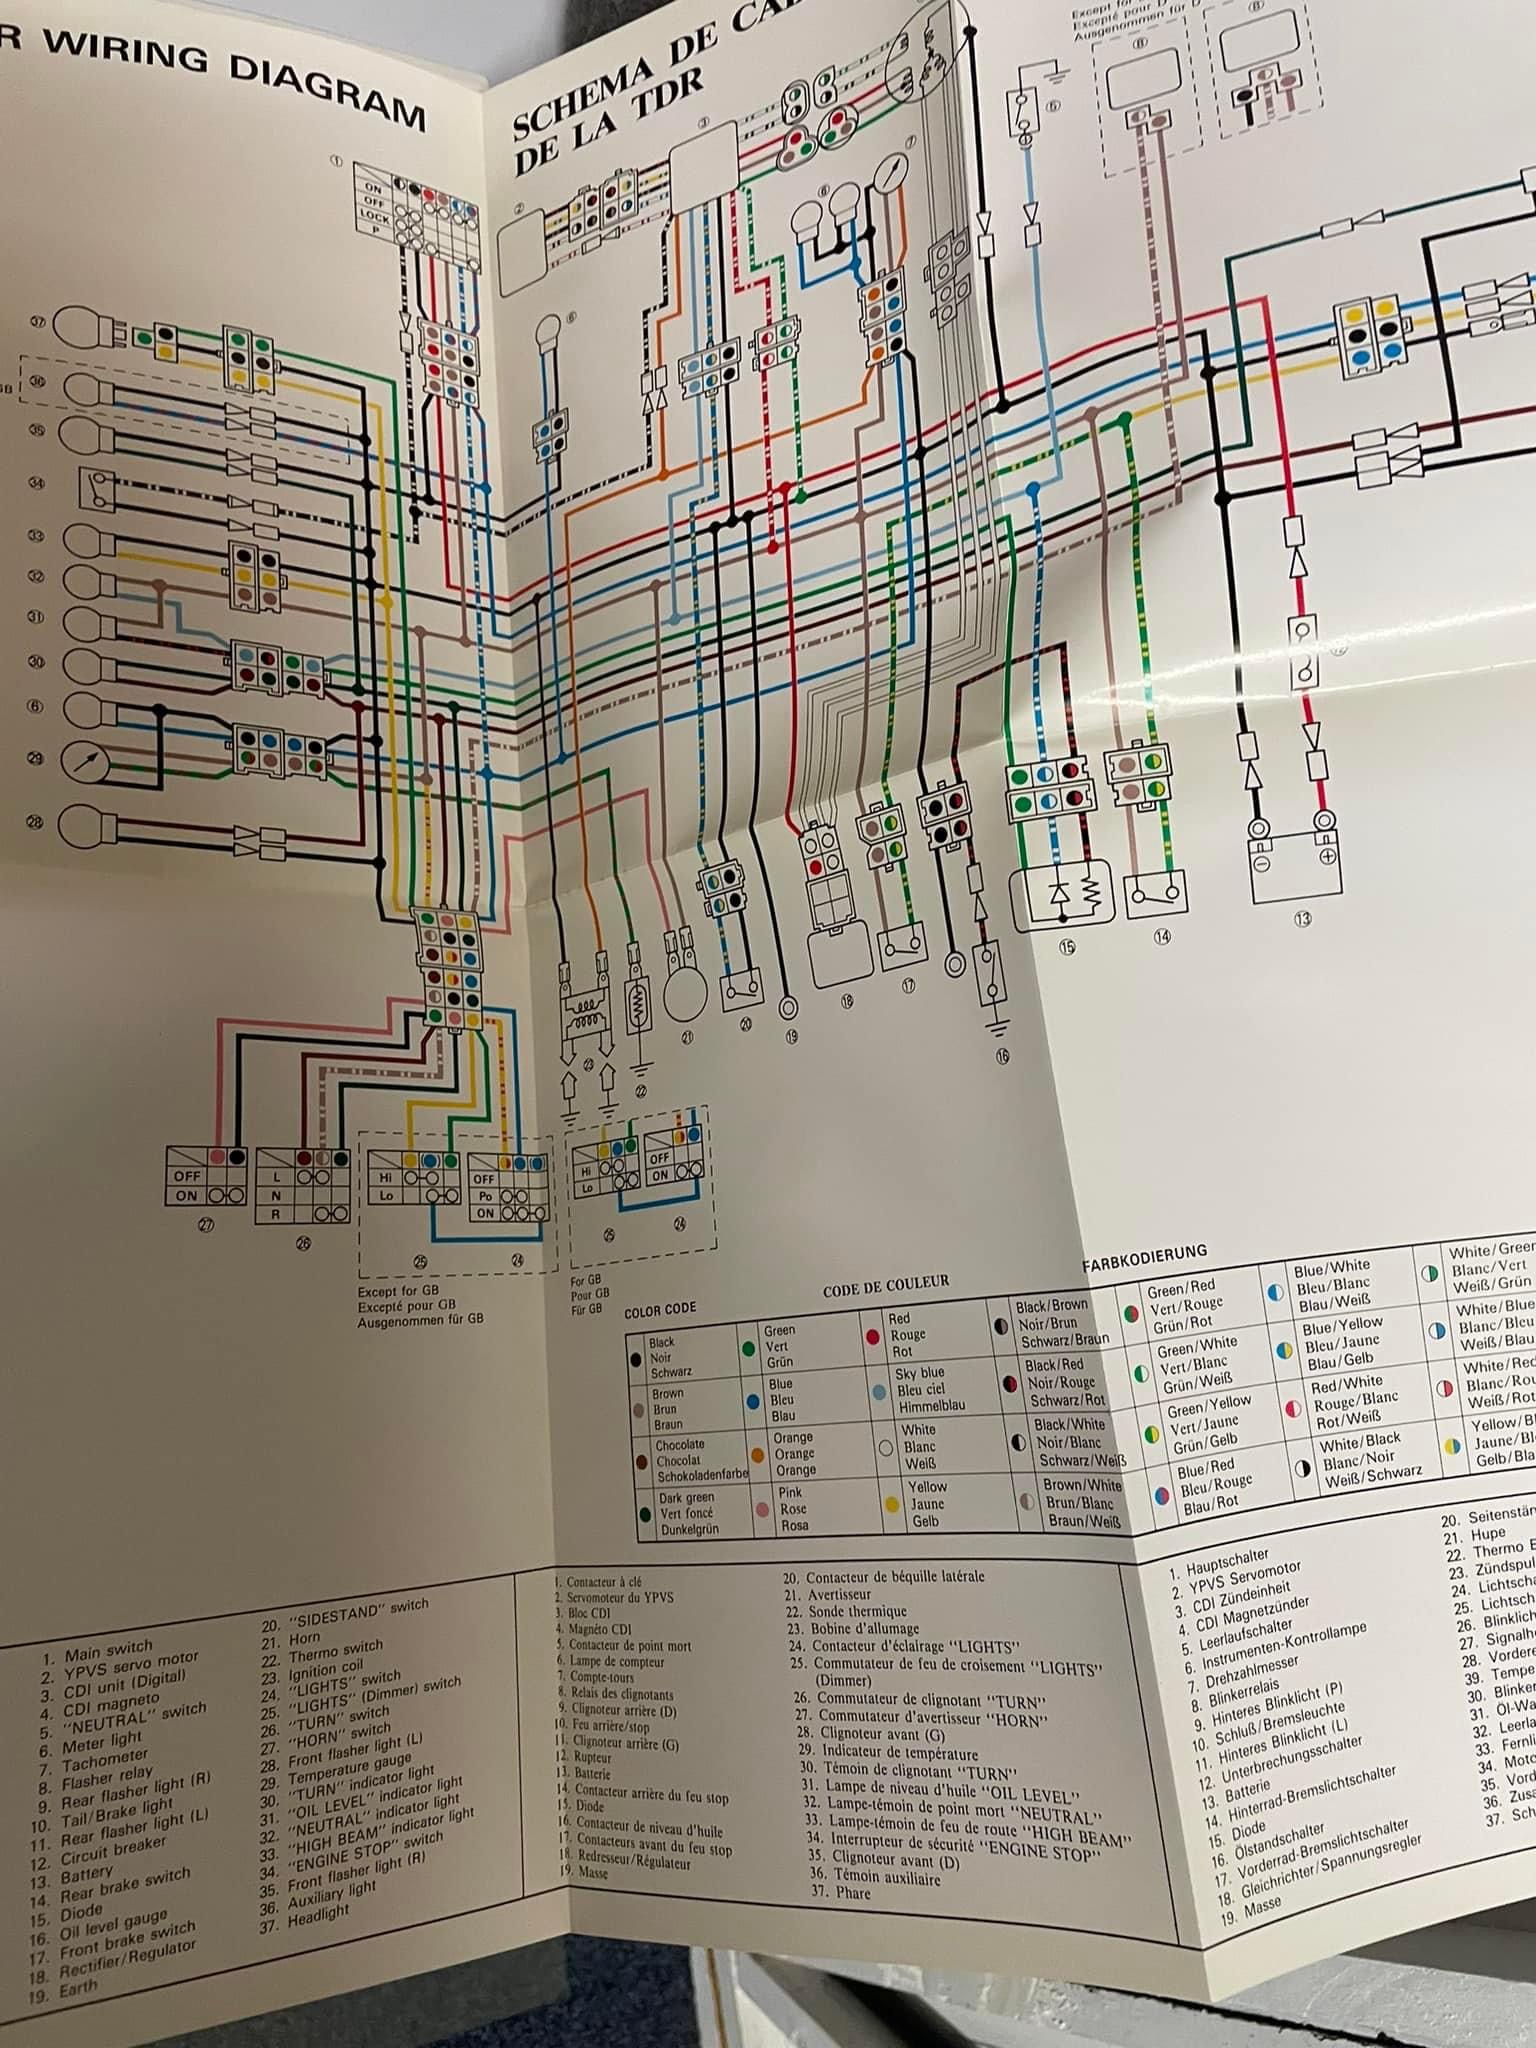
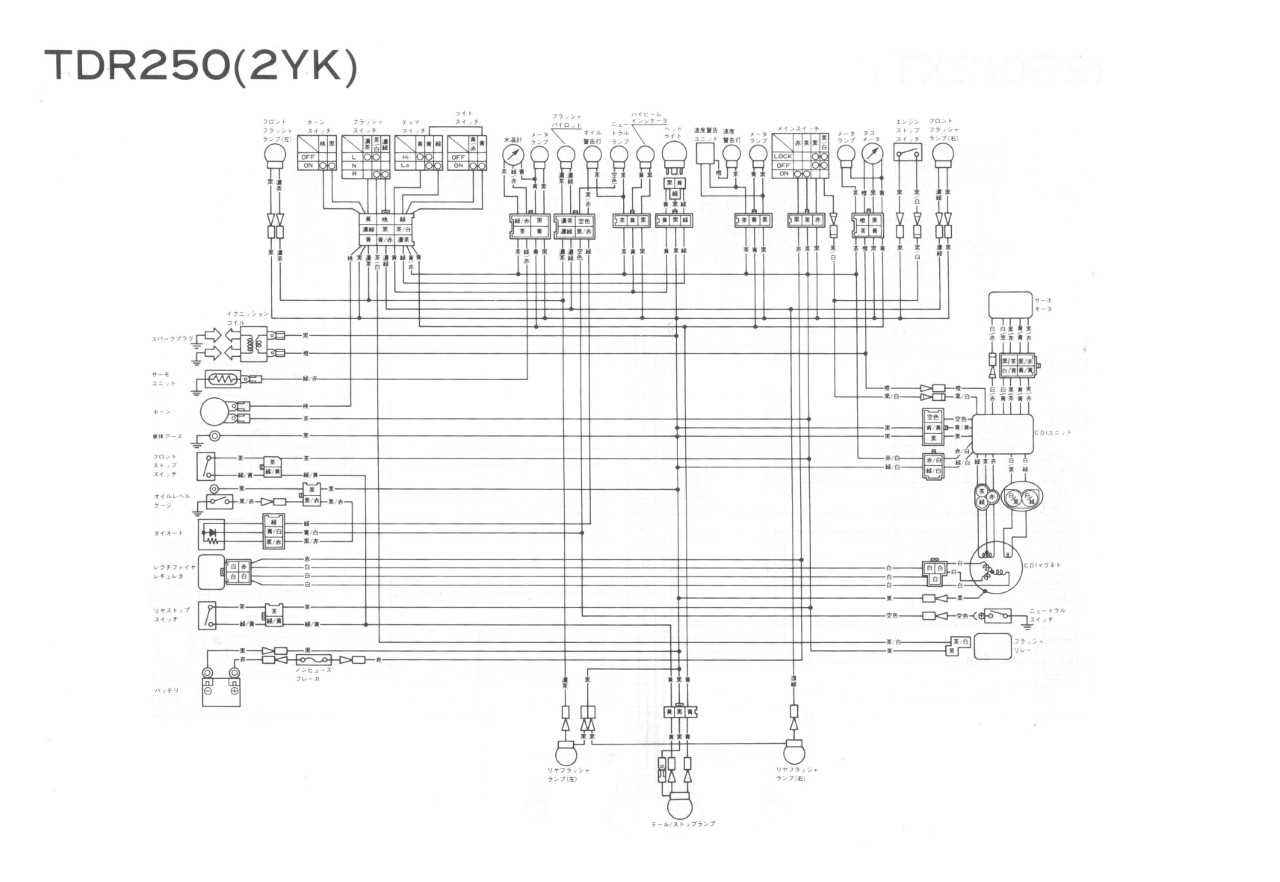
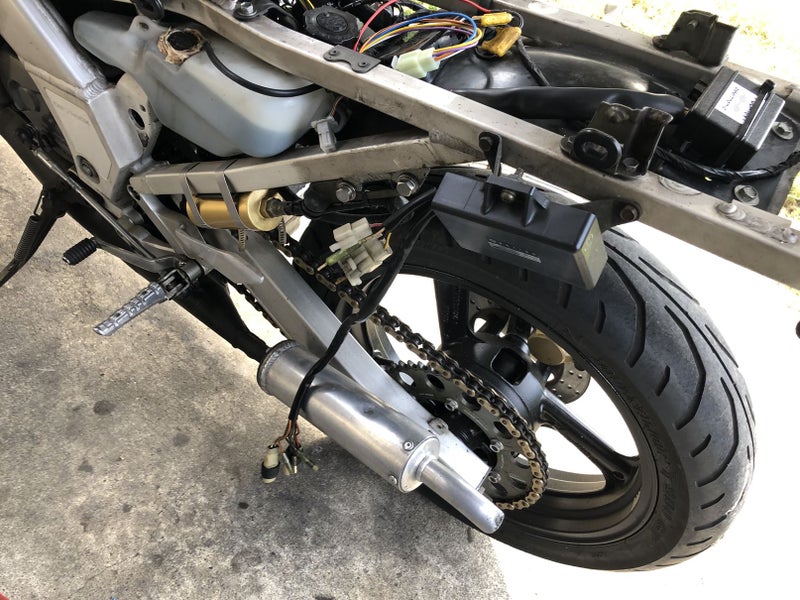
Remove the fairings and modify the wiring.
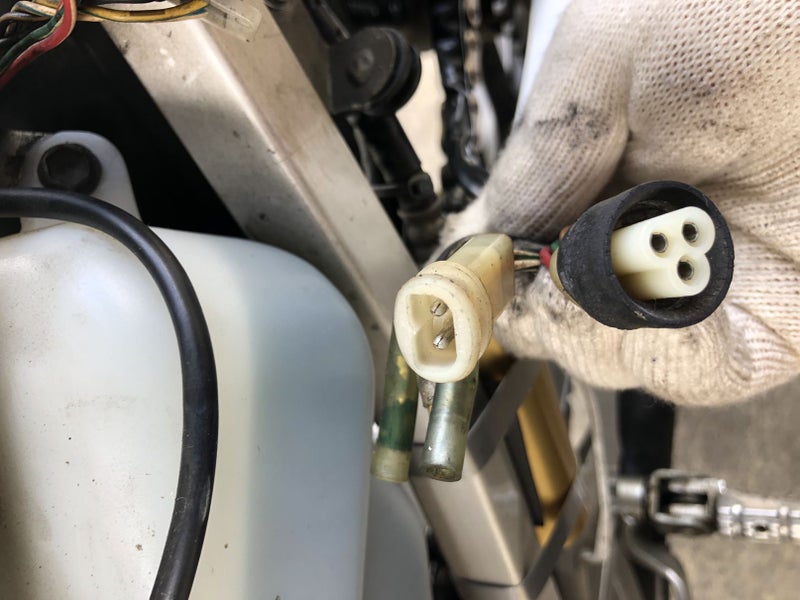
These connectors are a nuisance. Connectors like this are hardly sold anymore. They are not completely unavailable, but I am not going to buy them specially, and the bike is not going back to stock anyway, so I cut them off and replace them with general-purpose connectors.
There is no need to spend unnecessary money here. Generic connectors are good enough.
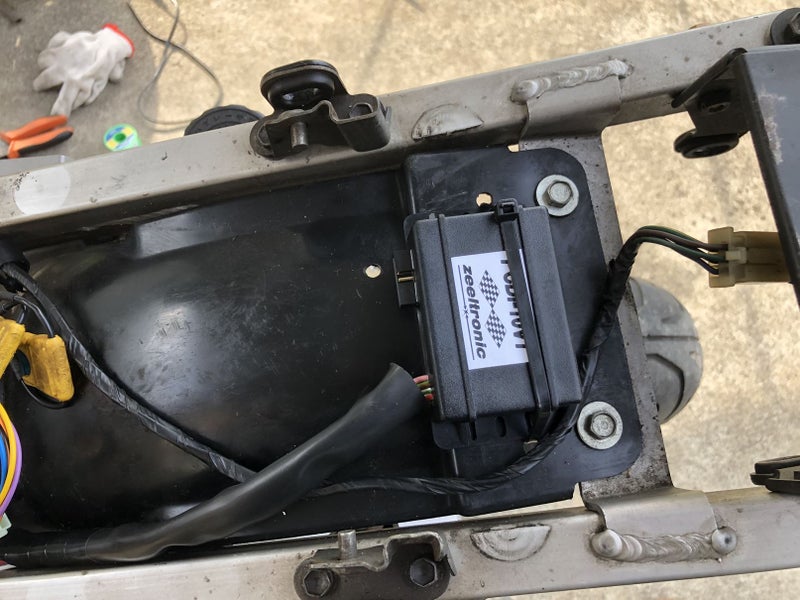
It is a little hard to see, but this installation uses a PCDI-10VT. The owner bought it and brought it in. When I supply the unit, I usually use a PCDI-20V.
The 10VT is an AC-CDI, like the standard CDI, and it can also control the YPVS. Compared with the 20V, it does not have throttle-position input or solenoid control.
In simple terms, it is a programmable 2D-map CDI with YPVS control. That is still convenient, because the YPVS opening can be set freely.
The real strength of Zeeltronic — the point where it is clearly ahead of other programmable CDIs — is duty-solenoid control. It lets you build an electronically controlled carb setup.
Unlike old-style carb-only tuning, a 3D map plus electronically controlled carburetion makes much more linear setting possible.
Even so, a simple unit like the 10VT is easy to install. If you think of it as a replacement for the stock CDI, it can be a very efficient and higher-performance upgrade. It is not pointless; I think it is a very appropriate modification.
The stock CDI is no longer needed, so remove it straight away.
The most important job after converting to Zeeltronic is this:
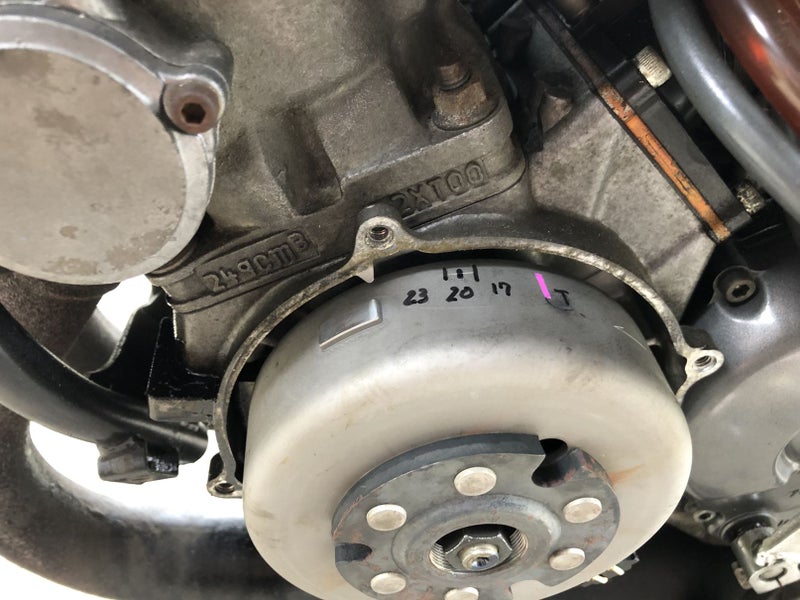
Static angle measurement and setup
If you can do this correctly, the Zeeltronic will definitely run. Whether the map is good or not is a separate matter. It will spark, and it will idle.
The only things you need are a timing light and a marker.
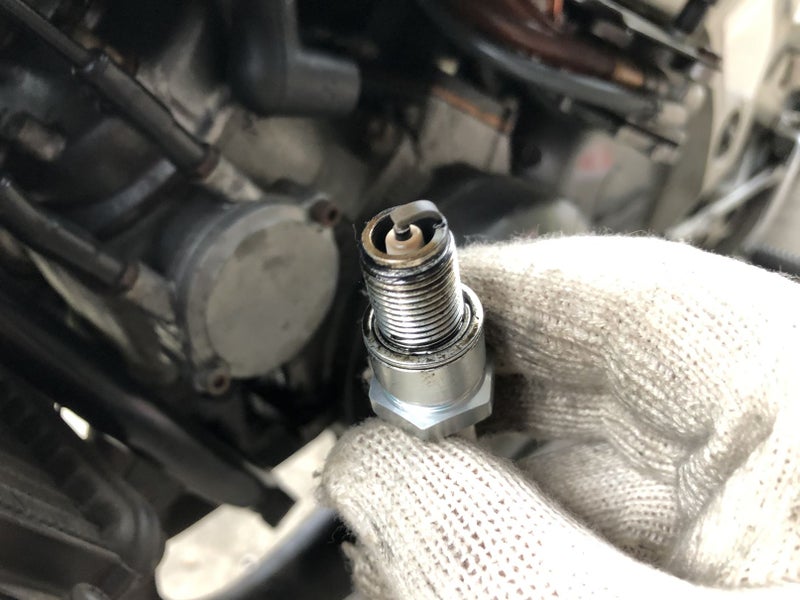
Remove the spark plug, find top dead centre on cylinder 1, and mark that as Top. From there, mark the advance angles and check them with the timing light.
Use a protractor from the Top mark to mark ignition timing. It is enough to mark the idle timing and the maximum advance angle.
If the static angle is correct, use the timing light at idle and confirm it matches the idle ignition timing. Then raise the revs and confirm it reaches maximum advance. That is enough.
Too much advance can break an engine, but too much retard almost never does. If the numbers match from idle to maximum advance, the control is basically working correctly.
Small differences can be treated as error. You cannot visually distinguish 0.5 degrees. In any case, private users are unlikely to transplant exactly the same map into exactly the same motorcycle, and even between bikes there are individual differences.
A map is only roughly correct. If transplanted data runs, you just correct it from there for the individual machine. Small errors do not matter much.
A 0.5-degree difference is something you cannot really judge unless you are watching it on a chassis dyno. If you repeatedly road-test and look for the difference, you may gradually get a sense of it. When it is not bad but could be a little better, you adjust it little by little.
So approximate is fine. Whether it makes power depends on the tuner’s skill, and the carburettor setup matters as well.
After a light setup, I did a short test run nearby. This is too lean. Still, compared with the stock CDI, it feels considerably more powerful.
This bike is a 2XT. It had a 1KT map loaded, but with that data unchanged the minimum ignition timing would not go below 20 degrees, and the rpm reading was doubled.
The ignition timing and YPVS opening also felt somewhat wrong, so I researched various ignition-timing and YPVS-opening data.
People in the OSR community have done a lot of useful work and made information public. Based on data published in several places, I revised it and adjusted it in the Yarou Works style. Feel free to use it as reference or reuse it.
2D map and setup values
- CDI used
- Zeeltronic PCDI-10VT
- Ignition map
- 2000/16°, 2800/22°, 6700/22°, 7700/21°, 8300/21°, 8800/20.5°, 9000/20°, 9500/15°, 10000/18°, 12000/14.5°
- YPVS
- 6500/0%, 7500/50%, 8000/75%, 9000/100%
- Static Angle
- 37°
- Trigger Mode
- 01 only [+]
- Pulses Per Rev
- 2
This data is only for the 2XT brought in this time. I do not know how useful it will be, but in the current state it is mild up to 4500 rpm, then revs pleasantly up to 11500 rpm.
As shown in the photo, carburettor setting is still needed, but compared with stock it clearly has more power at high rpm.
Because I used public data from OSR tuners as reference, I am publishing this setup data as well. Thanks to the people who went before.
Trigger mode and YPVS cautions
With trigger mode 02 [+ -], the minimum retard will not go below 20 degrees. Use only [+].
For YPVS, I set the point where it is fully open when viewed from the exhaust port as 100%. Fully closed is also set very close to the closed limit, but depending on how you look at it the limit can be hard to judge, so a stock-equivalent closed position is also acceptable.
Zeeltronic lets you set the fully open and fully closed positions fairly freely, so unlike the standard controller, the operating angle changes.
If you set it wrong, it can tear the ABS pulley on the cylinder-side YPVS, so do not overdo it.
Finally, I felt something strange in the handling and inspected it. It had ended up like this. Inspection is important. The bearings need replacing.